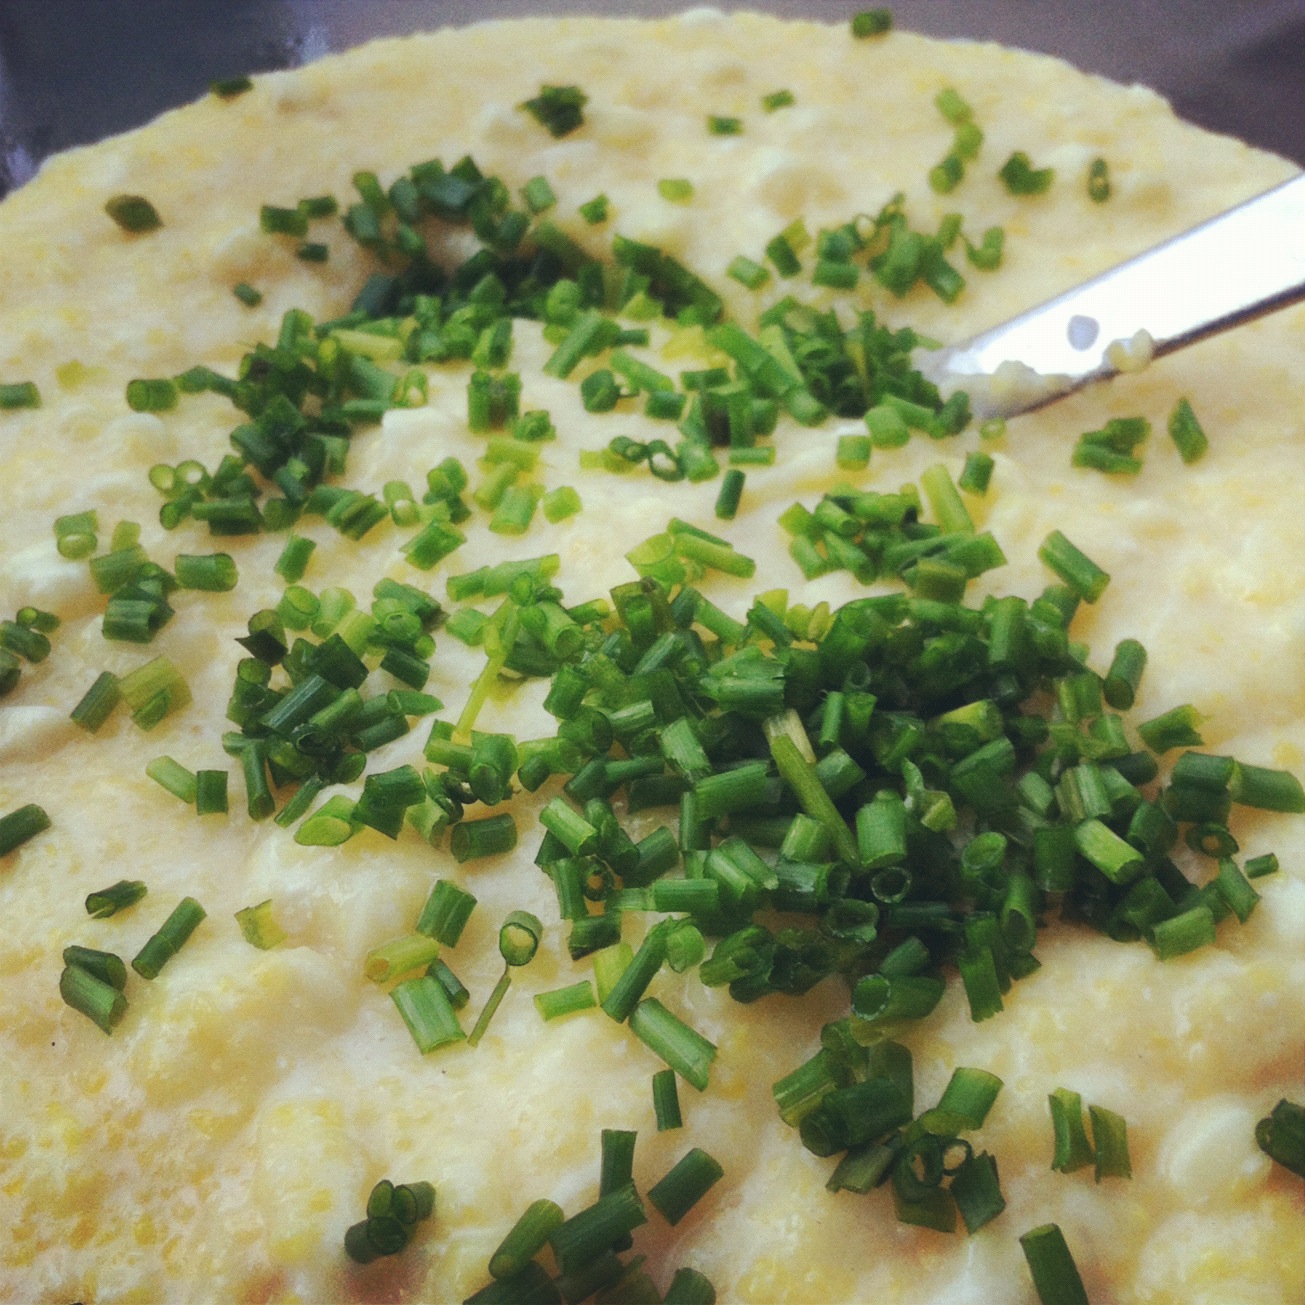
Blueberries are good for the eyes because they contain Vitamin A.
Here's some good things my nutrition books(1)(2) had to say about Vitamin A:
"...Is traditionally known for it's role in the maintenance of night vision."
"prevents some skin disorders, such as acne."
"A well known wrinkle eliminator."
"A powerful antioxidant, helping to protect the cells against cancer and other diseases."
Let's learn some Yoga vocabulary: Drishti
Drishti (दृष्टि): means focused gaze. You may hear your yoga teacher instruct you to, "Find your drishti." What they mean by that is to find a place to focus the eyes. Sometimes it's focusing on a place on the wall, or in your own reflection. Sometimes, you're not really looking at anything but space, but as long as you hold your focus on that space, you're maintaining your drishti. Sustaining this deep level of focus allows the yogi to withdrawl from his/her surroundings, concentrate, and turn inward. And it's this practice of great concentration, which develops a yogi's ability to meditate.
A great pose to practice drishti is: Ardha Chandrasana (Half Moon)
 |
| Image from: The Key Muscles of Yoga, by Ray Long, MD, FRCSC |
In this pose, I usually bring my gaze to the floor, about one foot ahead of my toes. An advanced practitioner may bring their focus to the ceiling. Done right, this pose is not easy. Press back through your top heal, engage your core, and squeeze quadriceps in toward your pelvis, as you butterfly your hips open. Arms are open wide, reach equally through both fingertips. If you're not balancing on your lower fingertips, try bringing your lower palm to heart-center.
Now, let's bake!
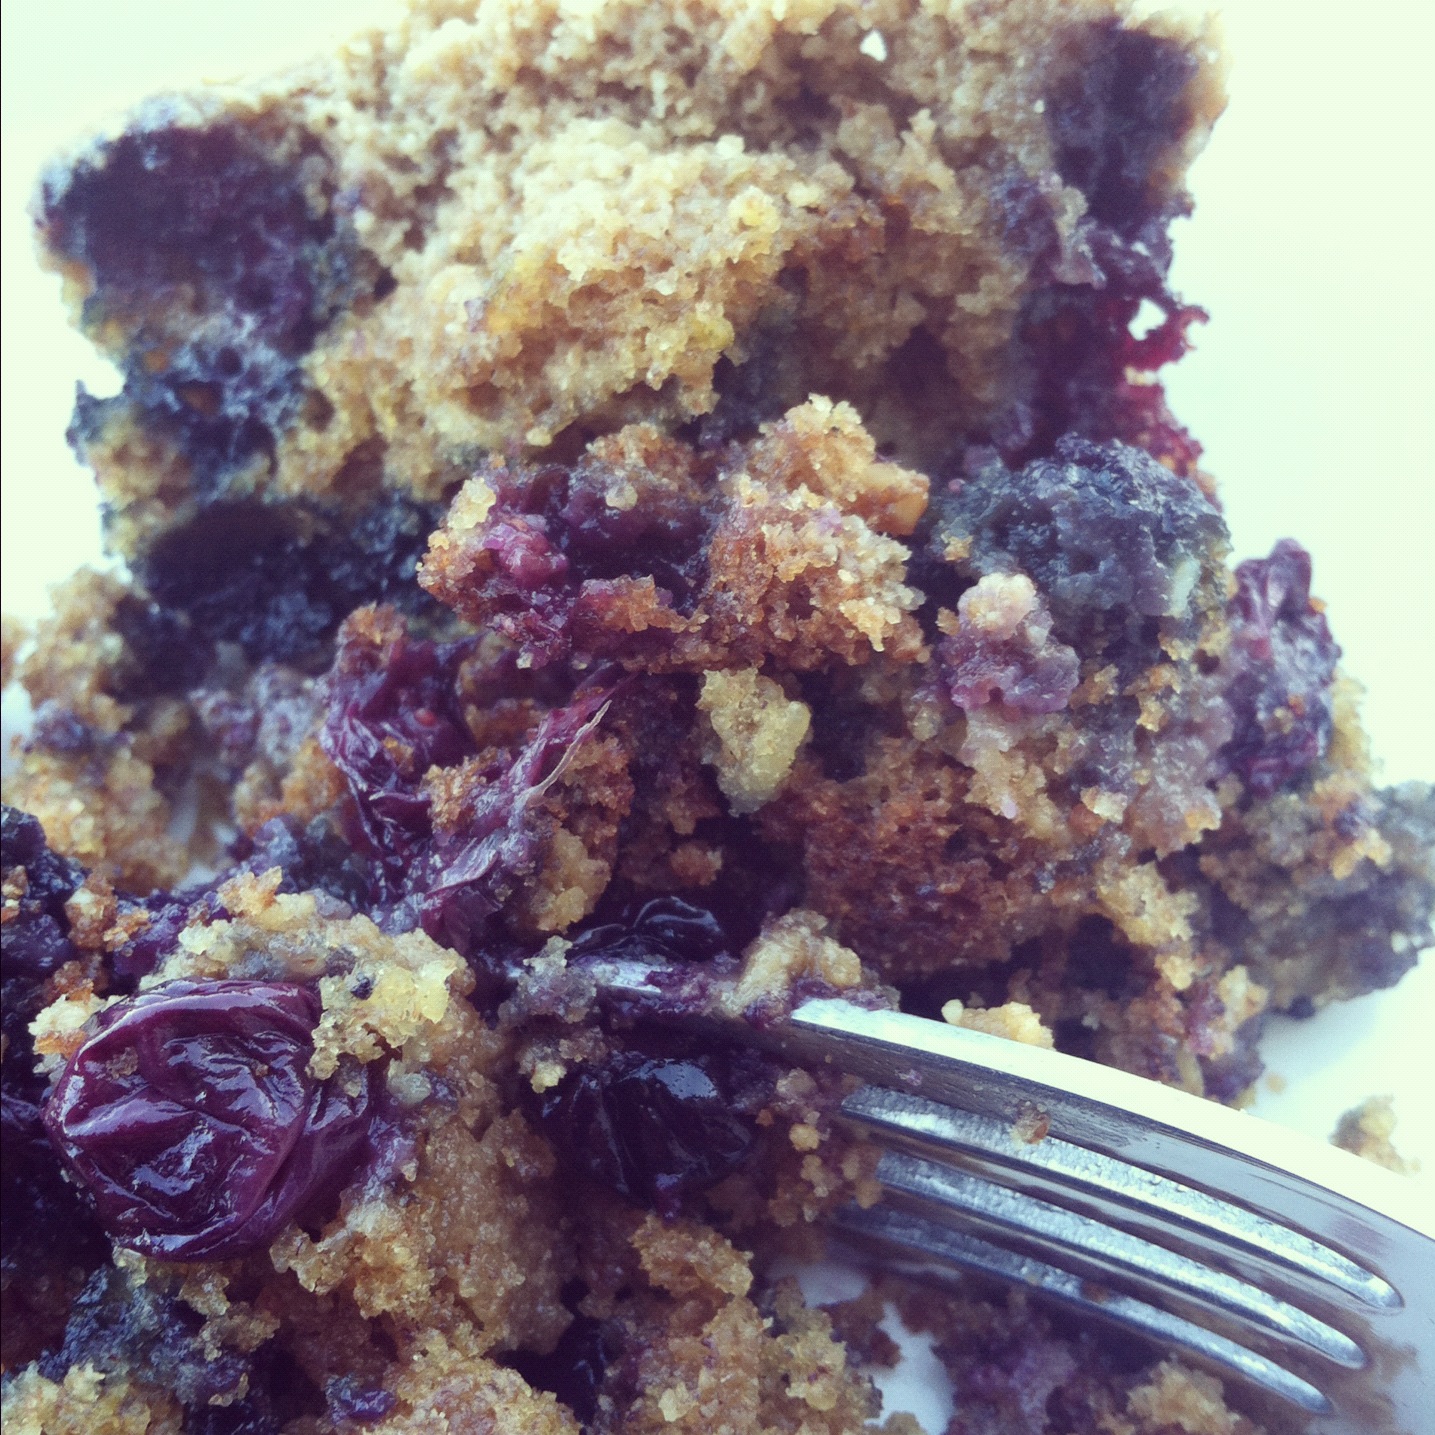
Maple Blueberry Coffee Cake
(Adapted from Heidi Swanson's Maple Hukleberry Coffee Cake)

Ingredients:
- 1 cup whole wheat pastry flour (or spelt flour)
- 3 tablespoons rolled oats
- 1/2 teaspoon baking powder
- 1/2 teaspoon baking soda
- scant 1/2 teaspoon fine grain sea salt
- 1/4 teaspoon fresh thyme, chopped
- 1/4 teaspoon fresh rosemary, chopped
- 4 tablespoons (1/2 stick) unsalted butter, room temperature
- 1/3 cup maple syrup, room temperature
- 1 large egg, room temperature
- zest of one lemon
- 2 teaspoons vanilla extract
- 1/4 cup buttermilk
- 1 1/3 cups fresh blueberries
- 1/2 cup whole wheat pastry flour
- 4 tablespoons cold unsalted butter, cut 1/4-inch cubes
- 1/3 cup maple sugar (or brown sugar)
- 1/4 teaspoon fresh thyme
- 1/2 cup chopped pecans
Equipment:
- 1-pound loaf pan
"but you could likely get away with a 8 or 9-inch cake or pie pan." - Heidi SwansonStep 1.
Preheat the oven to 350F degrees, rack in the middle. Butter your pan.
Step 2.
In a medium bowl, whisk together the flour, oats, baking powder, baking soda, salt, thyme, and rosemary. Set aside.

Step 3.
In a separate large bowl beat the butter with an electric mixer or by hand - until light and fluffy. Drizzle in the maple syrup and beat until well incorporated, scrape down the sides of the bowl a couple times along the way.

Step 4.
Beat in the egg, lemon zest, and vanilla extract, scraping the sides again. Add half of the flour, stir just a bit, now add a splash of the buttermilk, stir again, but not too much. Add the rest of the flour and stir a bit, and now the rest of the buttermilk. Stir until everything barely comes together and then very gently fold in one cup of the huckleberries. Scrape the batter evenly into the prepared pan and set aside.

Step 5.
To make the streusel topping, place the flour, butter, maple sugar, thyme and pecans in a food processor and pulse 20-30 times or until the topping is a bit beyond sandy/crumbly. It should be moist-looking - on its way to being slightly doughy. Crumble 2/3 of it over the cake batter, sprinkle the remaining 1/3 cup huckleberries on top of that, and then add the last of the crumble. Barely pat in place with your fingertips.

Step 6.
Place the coffee cake in the oven and bake for 45-50 minutes or until the top is golden and a toothpick inserted into the center of the cake comes out clean. Let the cake cool for five minutes. Brew yourself a pot of coffee, and enjoy!
Books mentioned in this entry:
(1). Prescription for Nutritional Healing: The A-to-Z guide to Supplements, by Phyllis A Balch, CNC
(2). Natural Health, Natural Medicine: The Complete Guide to Wellness and Self-Care for Optimum Health, by Andrew Weil, M.D.